 delishing
How to Cook Tri-Tip on the Stove, Grill, and More

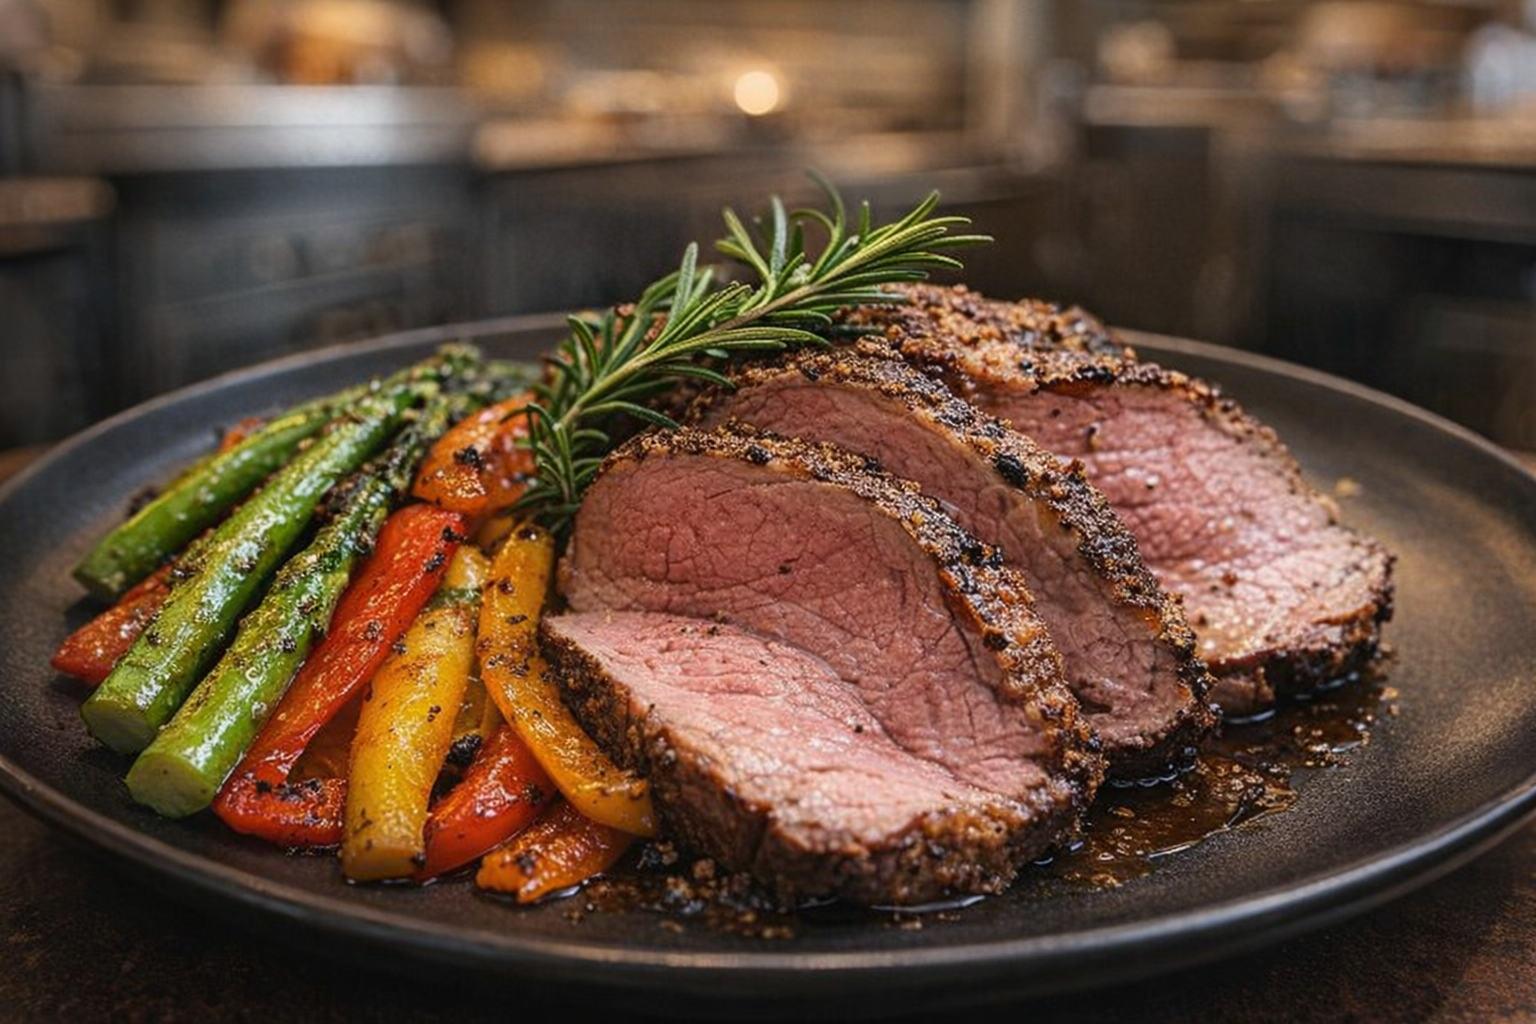
Tri-tip, also known as the California cut, offers a robust beef flavor with a slightly sweet undertone. Its versatility allows for various cooking methods, each highlighting a unique aspect of its taste. This guide explores several techniques, ensuring a tender and flavorful result every time. Mastering tri-tip opens doors to countless culinary possibilities, from elegant dinners to casual backyard barbecues.
This guide will walk you through the nuances of cooking tri-tip using various methods. From the convenience of oven roasting to the smoky depths of grilling, the control of pan-searing, the ease of the slow cooker, and the distinct taste of smoking, you’ll learn the best practices for each. By understanding the nuances of each method, you’ll be able to select the perfect technique based on your available time, desired flavor profile, and kitchen equipment.
Understanding Tri-Tip
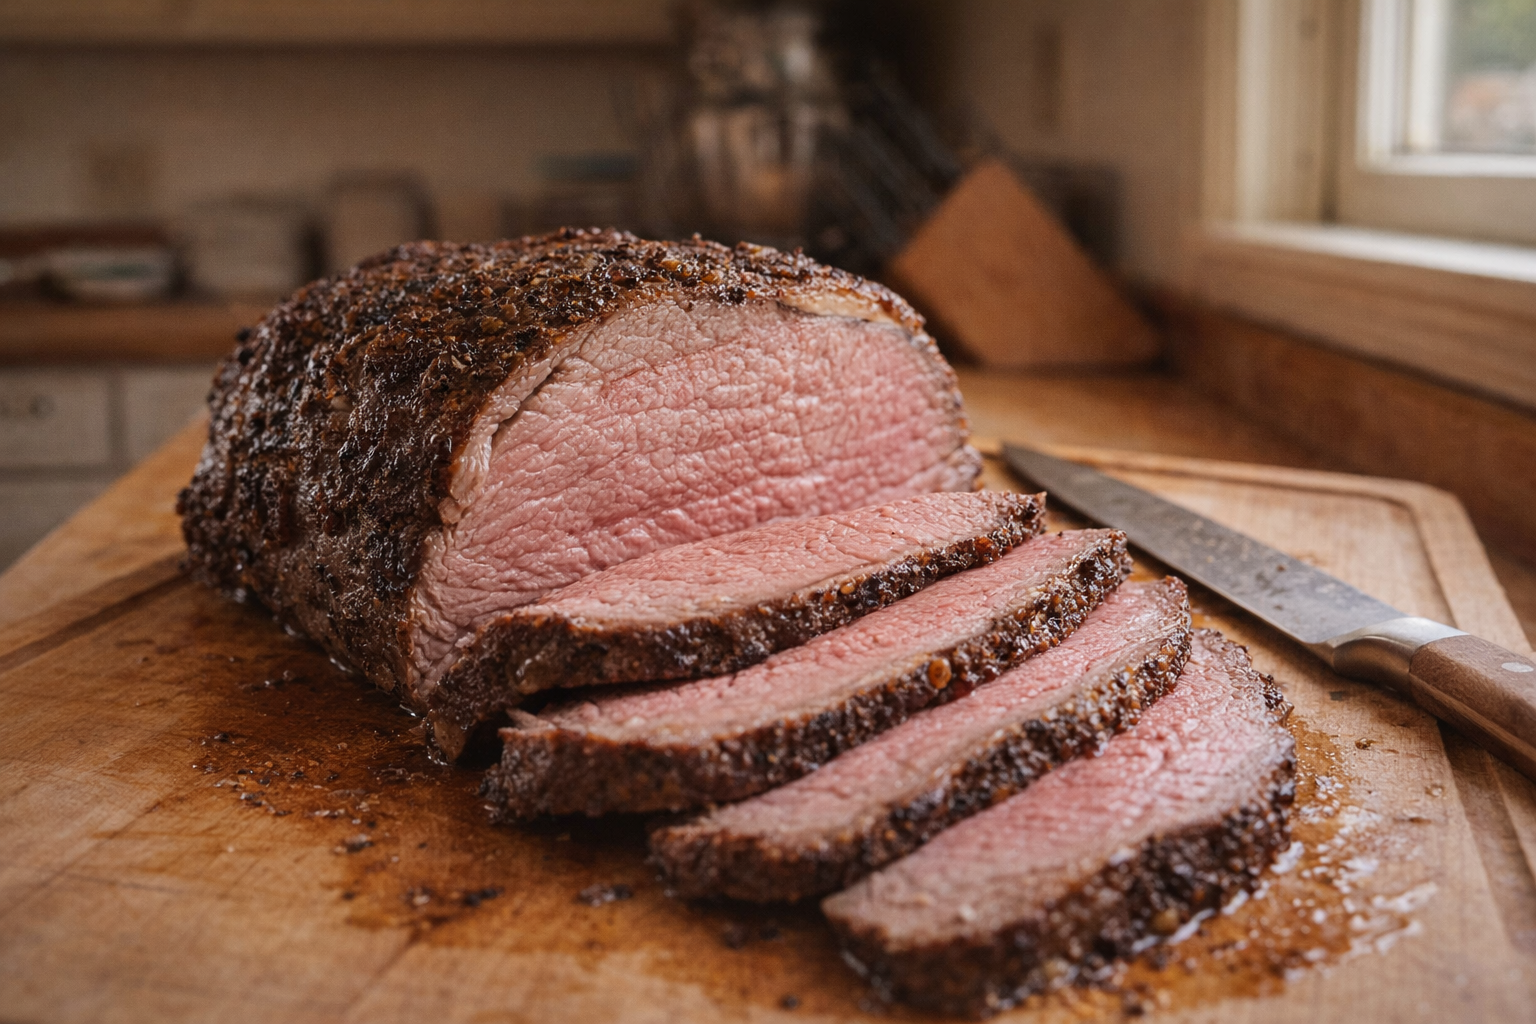
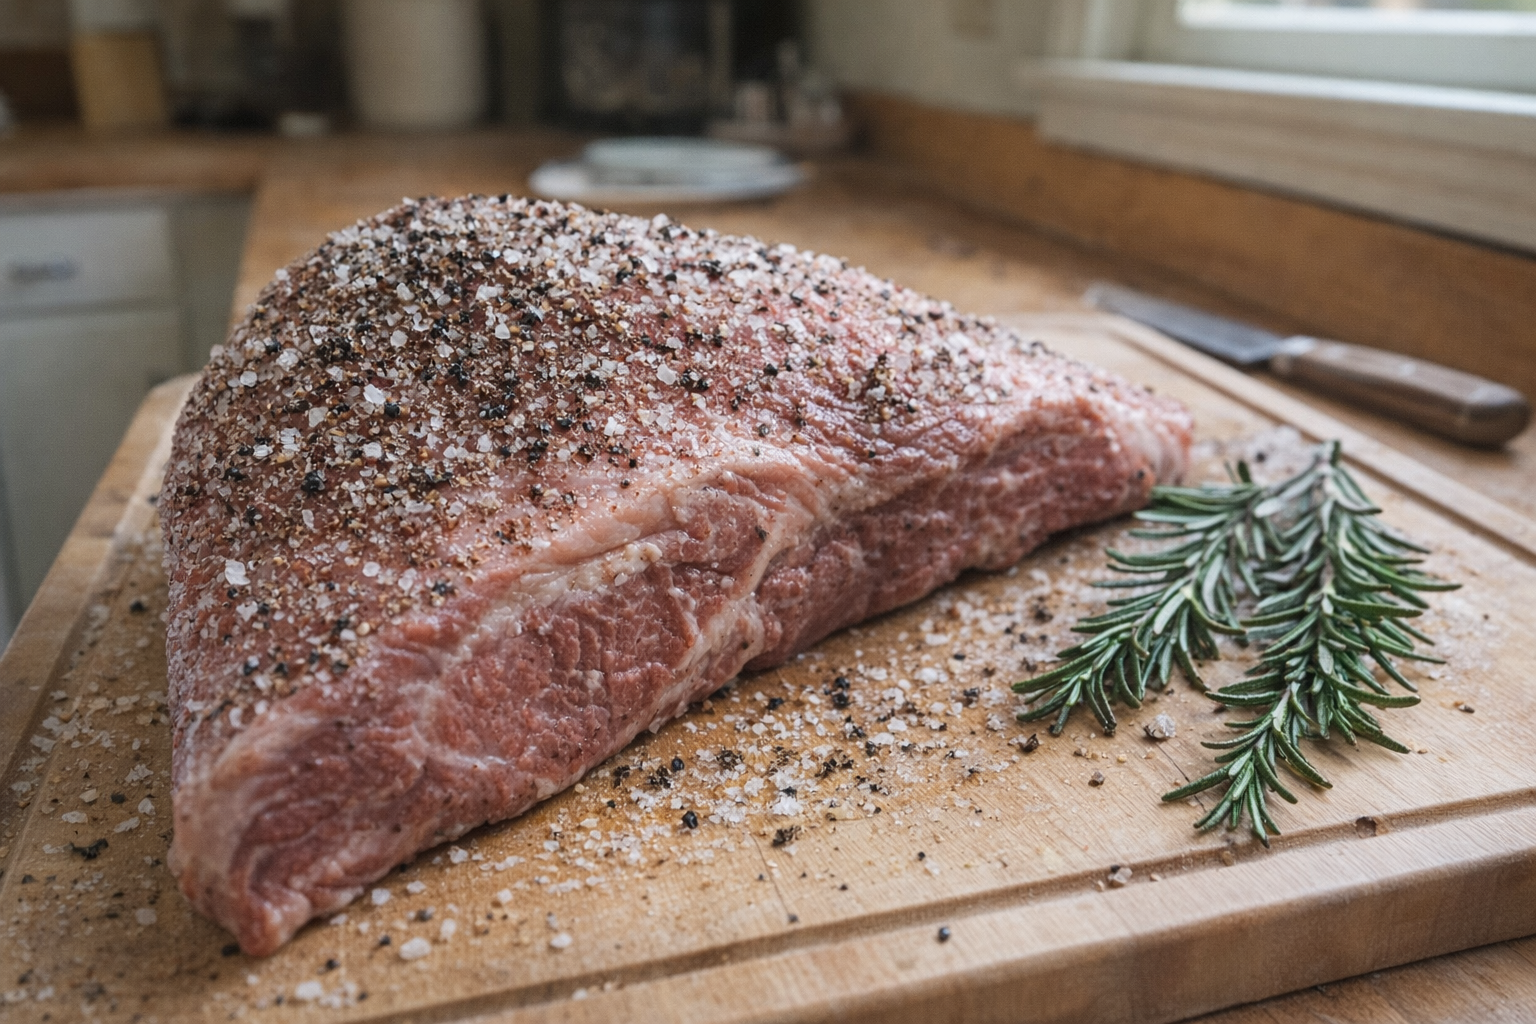
Tri-tip comes from the bottom sirloin, a triangular cut known for its rich flavor and relatively affordable price compared to other steak cuts. When selecting tri-tip, look for good marbling (the intramuscular fat) which contributes to tenderness and flavor. The color should be a vibrant red, indicating freshness. Avoid cuts that look pale or have a brownish tint.
There are two main types:
- Untrimmed Tri-Tip: This cut retains more of its natural fat cap, resulting in a richer, more flavorful roast but requires more trimming before cooking.
- Trimmed Tri-Tip: This cut has had most of the fat removed, offering a leaner option that requires less preparation.
Why Cook Tri-Tip This Way?
- Versatility: Tri-tip adapts well to various cooking methods, from grilling and smoking to oven roasting and slow cooking.
- Flavor: A well-prepared tri-tip boasts a rich, beefy flavor that rivals more expensive cuts.
- Convenience: Many of these cooking methods are relatively hands-off, allowing you to focus on other tasks while the tri-tip cooks.
Preparation (Mise en Place)
- Thawing: If frozen, thaw the tri-tip in the refrigerator for 24-48 hours. For faster thawing, place the sealed package in a cold water bath, changing the water every 30 minutes. Never thaw at room temperature.
- Trimming (Optional): If using an untrimmed tri-tip, trim the fat cap to about 1/4 inch thickness. This allows for better seasoning penetration and prevents excessive rendering.
- Pat Dry: Use paper towels to thoroughly pat the tri-tip dry. This helps create a good sear on the outside.
Essential Tools
- Meat Thermometer: Crucial for accurate doneness.
- Cast Iron Skillet (for searing): Distributes heat evenly and provides excellent searing.
- Baking Sheet: Needed for oven roasting.
- Grill (gas or charcoal): For grilling that smoky flavor.
- Slow Cooker: For low and slow, tender results.
- Sharp Knife: For trimming and slicing against the grain.
The Cooking Method(s)
Method 1: Oven Roasted Tri-Tip
Oven roasting is a reliable method for achieving a consistently cooked tri-tip with a flavorful crust.
Ingredients:
- 1 (1.5 kg) beef tri-tip roast, trimmed
- 1 tbsp olive oil
- 1 tsp dried marjoram
- 1 tsp dried basil
- 1 tsp dried thyme
- 1 tsp dry mustard
- Salt and freshly ground black pepper, to taste
- 80ml red wine
- Preheat oven to 232°C.
- In a small bowl, combine marjoram, basil, thyme, dry mustard, salt, and pepper.
- Rub the olive oil over the entire tri-tip, then generously coat with the seasoning mixture, pressing it into the meat.
- Place the seasoned tri-tip in a large resealable plastic bag, pour in the red wine, seal, and refrigerate overnight.
- Remove the tri-tip from the refrigerator 4 hours before cooking, and pour in the red wine.
- Heat a large oven-safe skillet over medium-high heat. Sear the tri-tip on all sides until well-browned, about 3-4 minutes per side. The kitchen will fill with a rich, savory aroma as the meat sears.
- Transfer the skillet to the preheated oven and roast for 15 minutes.
- Reduce the oven temperature to 177°C and continue roasting for another 20-25 minutes, or until a meat thermometer inserted into the thickest part registers 54°C for medium-rare.
- Remove the tri-tip from the oven and let it rest for 10 minutes before slicing. The internal temperature will continue to rise during resting. Slice the tri-tip thinly against the grain.
Method 2: Grilled Tri-Tip
Grilling imparts a smoky flavor and creates a beautiful char on the exterior of the tri-tip.
Ingredients:
- 1 (1-1.5 kg) tri-tip roast
- 2-2.5 tsp dry rub of your choice
- Vegetable oil, for the grill grates
- Preheat grill to medium heat (approximately 204°C). For a gas grill, use two-thirds of the burners. For a charcoal grill, create a two-zone fire with one side hot and one side cooler.
- Clean the grill grates and lightly oil them with vegetable oil to prevent sticking.
- Generously season the tri-tip with your dry rub, ensuring it’s evenly coated.
- Sear the tri-tip on the hot side of the grill for 4-5 minutes per side, until a dark, flavorful crust forms. Listen for the sizzling sound as the meat hits the hot grates.
- Move the tri-tip to the cooler side of the grill, close the lid, and cook for another 20-30 minutes, or until a meat thermometer inserted into the thickest part registers 54°C for medium-rare. Flip the tri-tip every few minutes to ensure even cooking.
- Remove the tri-tip from the grill, wrap it in foil, and let it rest for 10 minutes before slicing against the grain. The foil traps the heat and juices, allowing the meat to rest and become more tender.
Method 3: Pan-Seared Tri-Tip
Pan-searing offers a quick and convenient way to achieve a flavorful crust on the tri-tip using your stovetop.
Ingredients:
- 1 (1-1.1 kg) tri-tip roast
- Salt and pepper, to taste
- 1 tbsp butter
- 2-3 garlic cloves, smashed
- Oil, for searing
- Fresh herbs (optional)
- Season the tri-tip generously with salt and pepper.
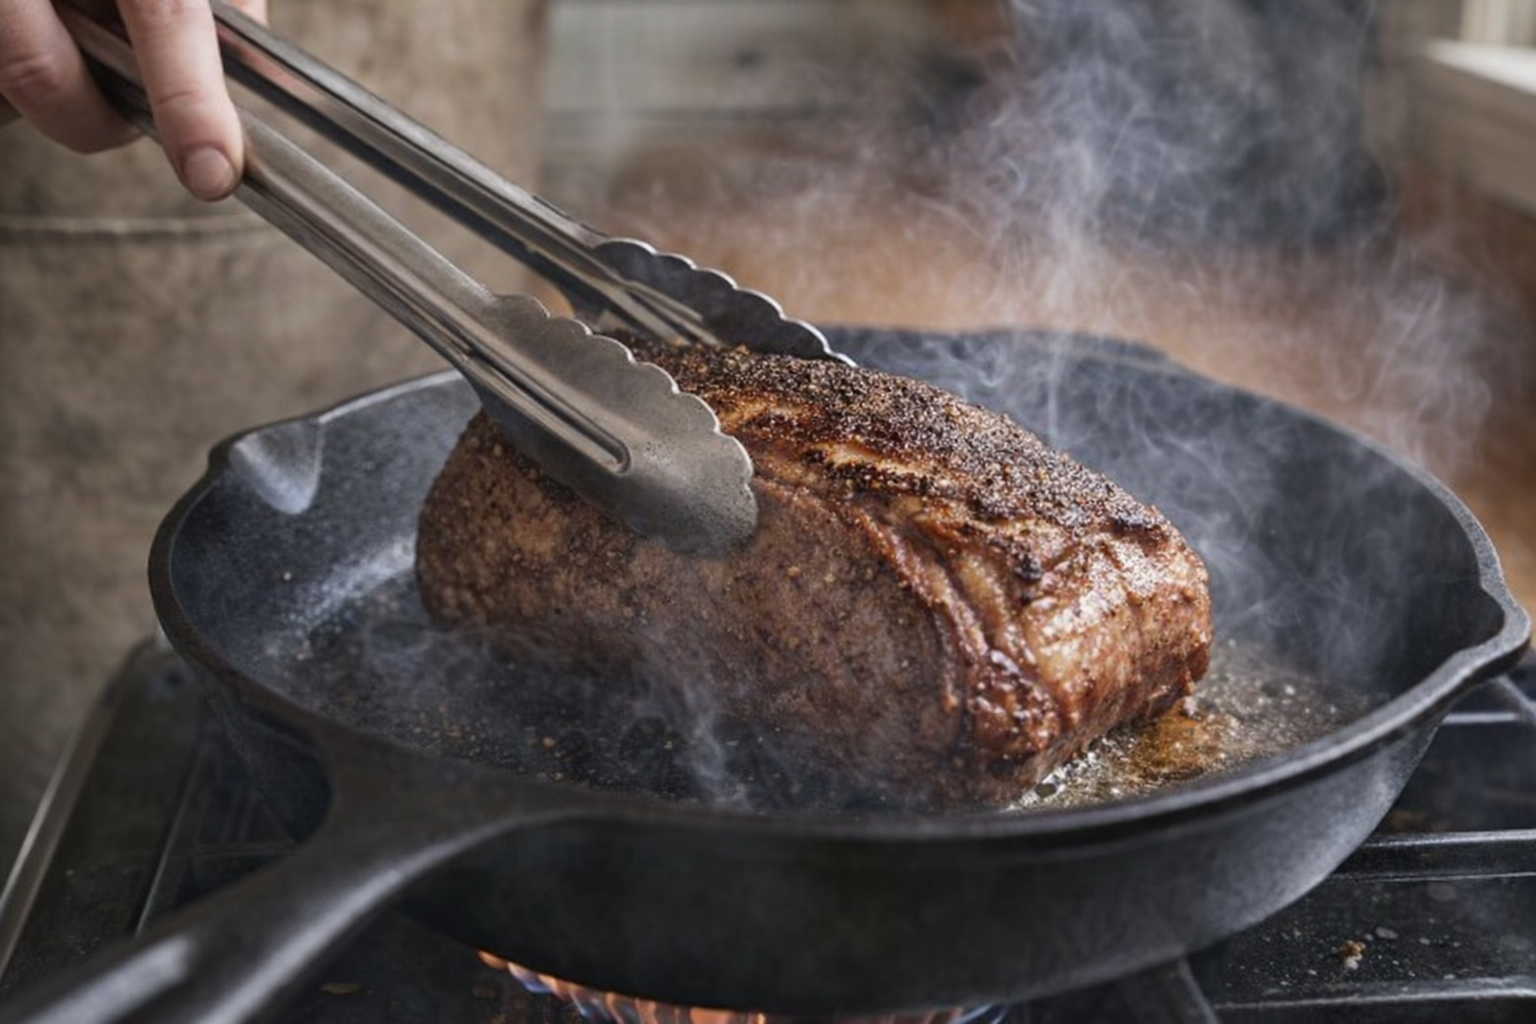
- Heat a cast-iron skillet over high heat until it's smoking hot. The pan should be hot enough to create a quick sear when the meat is added.
- Add a small amount of oil to the skillet.
- Carefully place the tri-tip in the hot skillet and sear for 5-7 minutes per side, until a dark brown crust forms. The kitchen will fill with a rich, savory aroma as the meat sears.
- Reduce the heat to medium, add the butter, smashed garlic cloves, and fresh herbs (if using) to the skillet.
- Tilt the pan and use a spoon to baste the tri-tip with the melted butter and garlic mixture as it continues to cook.
- Cook for another 6-8 minutes, or until a meat thermometer inserted into the thickest part registers 54°C for medium-rare.
- Remove the tri-tip from the skillet and let it rest for 10 minutes before slicing against the grain.
Method 4: Slow Cooker Tri-Tip
Slow cooking is ideal for achieving a melt-in-your-mouth tender tri-tip with minimal effort.
Ingredients:
- 1 (1.4 kg) tri tip roast
- Salt and pepper, to taste
- 0.5 tsp dried thyme leaves
- 0.5 tsp dried rosemary
- 2 tsp garlic, minced
- 475ml beef broth
- 2 tbsp Worcestershire sauce
- 6 slices provolone cheese (optional)
- In a small bowl, combine salt, pepper, dried thyme, dried rosemary, and minced garlic.
- Rub the seasoning mixture all over the tri-tip.
- Place the seasoned tri-tip in a slow cooker.
- Pour the beef broth and Worcestershire sauce around the sides of the meat.
- Cover and cook on low for 6-8 hours, or on high for 4-5 hours, or until the tri-tip is fork-tender. The meat should easily pull apart with a fork when it's done.
- Remove the tri-tip from the slow cooker and shred or slice it. Top with provolone cheese (if using) and let it melt before serving.
Method 5: Smoked Tri-Tip
Smoking infuses the tri-tip with a deep, smoky flavor that is perfect for barbecues and outdoor gatherings.
Ingredients:
- 1 (1-1.1 kg) tri tip roast
- Salt and pepper, to taste
- Dry rub of your choice
- Oak or hickory wood chunks
- Preheat smoker to 107°C.
- Season the tri-tip with salt, pepper, and your favorite dry rub.
- Place oak or hickory wood chunks in the smoker.
- Place the seasoned tri-tip on the smoker grates, fat side up. The fat will render down and baste the meat as it smokes.
- Smoke for 1.5-2 hours, or until a meat thermometer inserted into the thickest part registers 54°C for medium-rare. Maintain a consistent temperature throughout the smoking process.
- Remove the tri-tip from the smoker, wrap it tightly in foil, and let it rest for 15-20 minutes before slicing against the grain.
Cooking Time & Doneness Guide
Cooking Times by Method:
- Oven Roasting: High heat phase: 15 minutes at 232°C; Lower heat phase: 20-25 minutes at 177°C; Total time: 35-40 minutes
- Grilling: Searing phase: 4-5 minutes per side at 204°C; Indirect heat phase: 20-30 minutes at 93°C; Total time: 30-40 minutes
- Pan Searing: Searing: 5-7 minutes per side on high heat; Medium heat: 6-8 minutes; Total time: 12-15 minutes
- Slow Cooker: Low setting: 6-8 hours; High setting: 4-5 hours
- Smoker: Temperature: 107°C; Total time: 1.5-2 hours
Tri-Tip Doneness Chart:
- Rare: 52°C - bright red center
- Medium-Rare: 57°C - warm red center (most popular)
- Medium: 63°C - pink center
- Medium-Well: 66°C - slightly pink center
- Well Done: 71°C - no pink
Visual Cues
- Rare: The meat will feel very soft when pressed.
- Medium-Rare: The meat will feel slightly firmer than rare.
- Medium: The meat will have a noticeable resistance when pressed.
- Medium-Well: The meat will feel firm.
- Well Done: The meat will feel very firm and dry.
Tips for Perfection
- Bring to Room Temperature: Allow the tri-tip to sit at room temperature for 30-45 minutes before cooking. This helps ensure even cooking.
- Season Generously: Tri-tip benefits from bold seasoning. Don't be afraid to use plenty of salt, pepper, and other spices.
- Slice Against the Grain: Tri-tip has a unique grain pattern. Slicing against the grain is crucial for achieving a tender bite.
- Use a Meat Thermometer: A meat thermometer is your best friend when cooking tri-tip. It ensures accurate doneness and prevents overcooking.
Storage & Reheating
Storage:
- Refrigerator: Let the tri-tip cool completely, then wrap it tightly in foil or plastic wrap and store it in the refrigerator for up to 3-4 days.
- Freezer: Wrap the tri-tip tightly in freezer paper or heavy-duty aluminum foil, then place it in a freezer bag. Store in the freezer for up to 3 months.
Reheating:
- Oven: Wrap the tri-tip in foil with a small amount of beef broth and reheat in a 121°C oven until warmed through.
- Skillet: Slice the tri-tip and quickly sear it in a hot skillet until warmed through.
- Microwave: While not ideal, you can reheat sliced tri-tip in the microwave in short intervals, being careful not to overcook it.
Serving Suggestions
- Tri-Tip Sandwiches: Serve sliced tri-tip on crusty rolls with your favorite toppings, such as caramelized onions, horseradish sauce, or barbecue sauce.
- Tri-Tip Salad: Top a bed of mixed greens with sliced tri-tip, cherry tomatoes, cucumbers, and your favorite dressing.
- Tri-Tip Tacos: Fill warm tortillas with sliced tri-tip, salsa, guacamole, and your favorite taco toppings.
- Classic Steak Dinner: Pair sliced tri-tip with your favorite sides, such as mashed potatoes, roasted vegetables, or a fresh salad.
Frequently Asked Questions
While a cast iron skillet is preferred for its even heat distribution, you can use any heavy-bottomed skillet made of stainless steel or another oven-safe material. Ensure the skillet is large enough to comfortably fit the tri-tip without overcrowding, which can lower the pan temperature and hinder searing.
The best way to ensure your tri-tip is cooked to your desired doneness is to use a meat thermometer. Insert the thermometer into the thickest part of the meat, avoiding bone or fat, and cook to your preferred internal temperature (e.g., 130-135°F for medium-rare).
While tri-tip has a unique flavor and texture, you can substitute it with other cuts like sirloin or flap meat in a pinch. Keep in mind that these substitutes might require slightly different cooking times and techniques to achieve the same level of tenderness and flavor.
Leftover cooked tri-tip can be stored in the refrigerator for 3-4 days. Ensure it's properly sealed in an airtight container to maintain its quality and prevent it from drying out. You can also freeze it for longer storage, up to 2-3 months.